Ready to level up your vending game without breaking the bank? This tidy, color-coded display setup from a seasoned seller shows how you can organize, price, and showcase handmade jewelry with minimal fuss. FYI, you don’t need Glowforge or fancy gear—just a little planning and a lot of color.
Why a Color-Coded Price System Works Like Magic
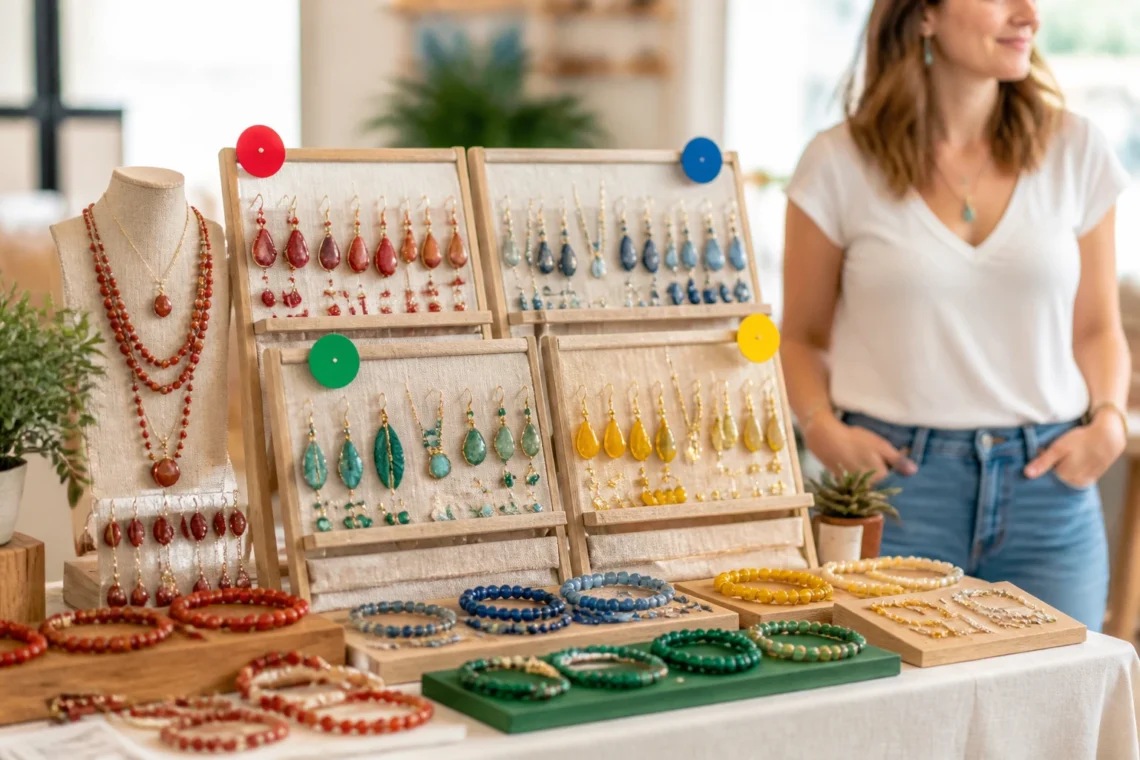
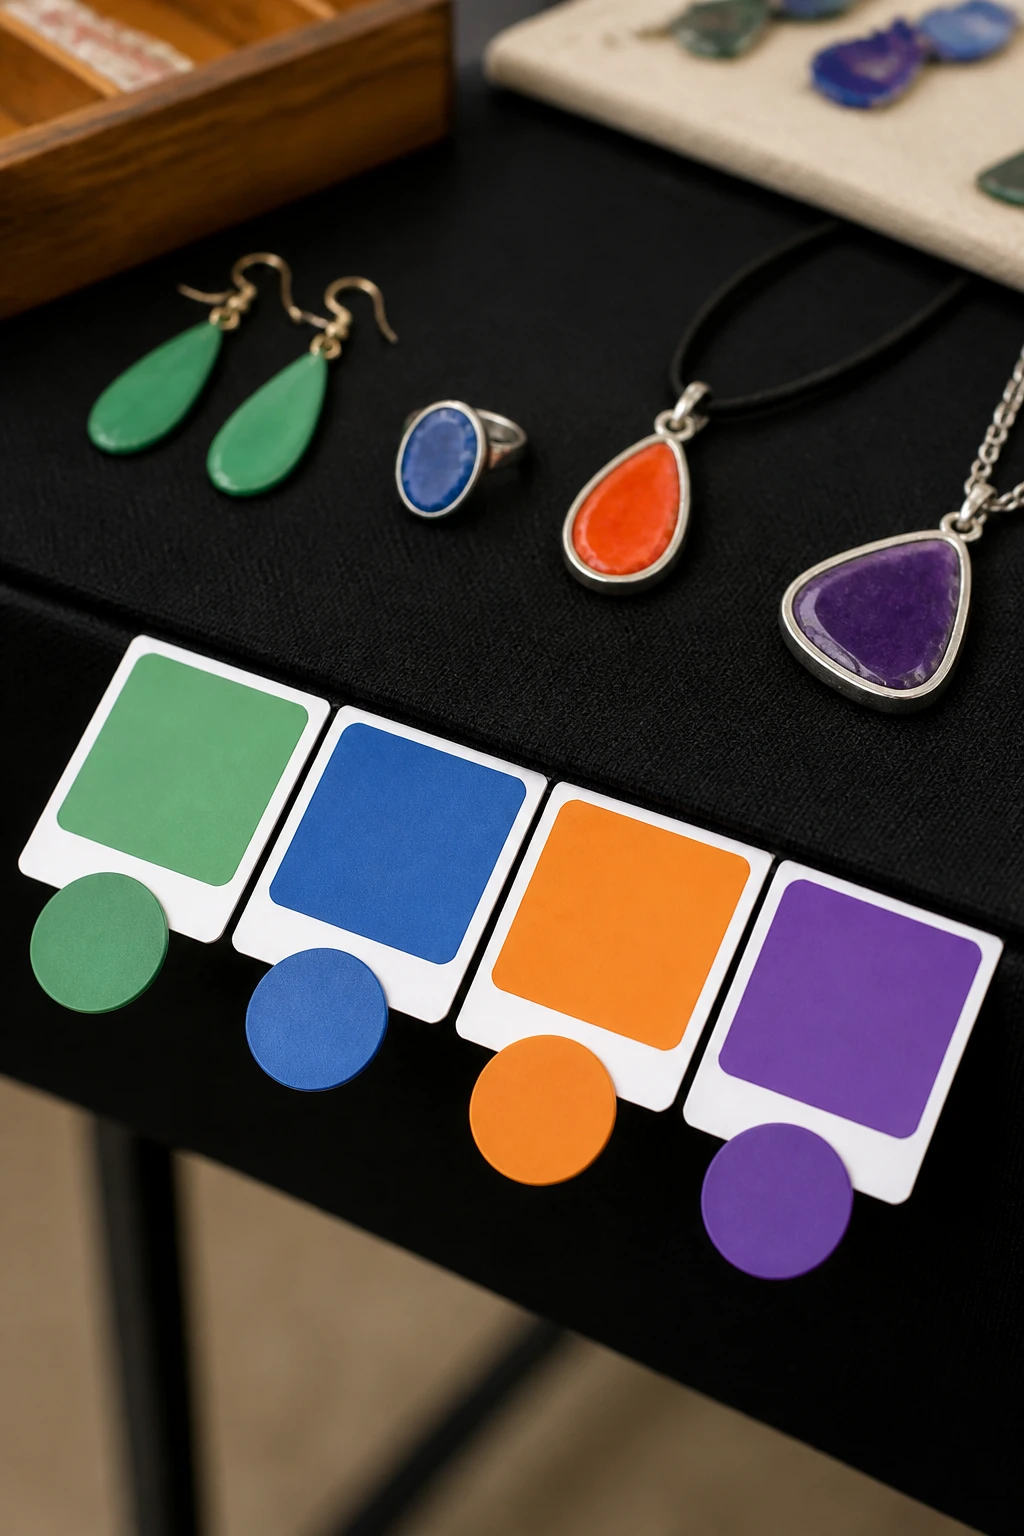
One of the smartest tricks in the video is using four colors to signal price points. Red, blue, green, and yellow stand for 10, 15, 20, and 25 dollars, respectively. The goal? Cut down on questions and keep the line moving. When customers can glance at a color and know the price, you save precious seconds and look super organized doing it.
How to Create a Simple, Effective Display Layout
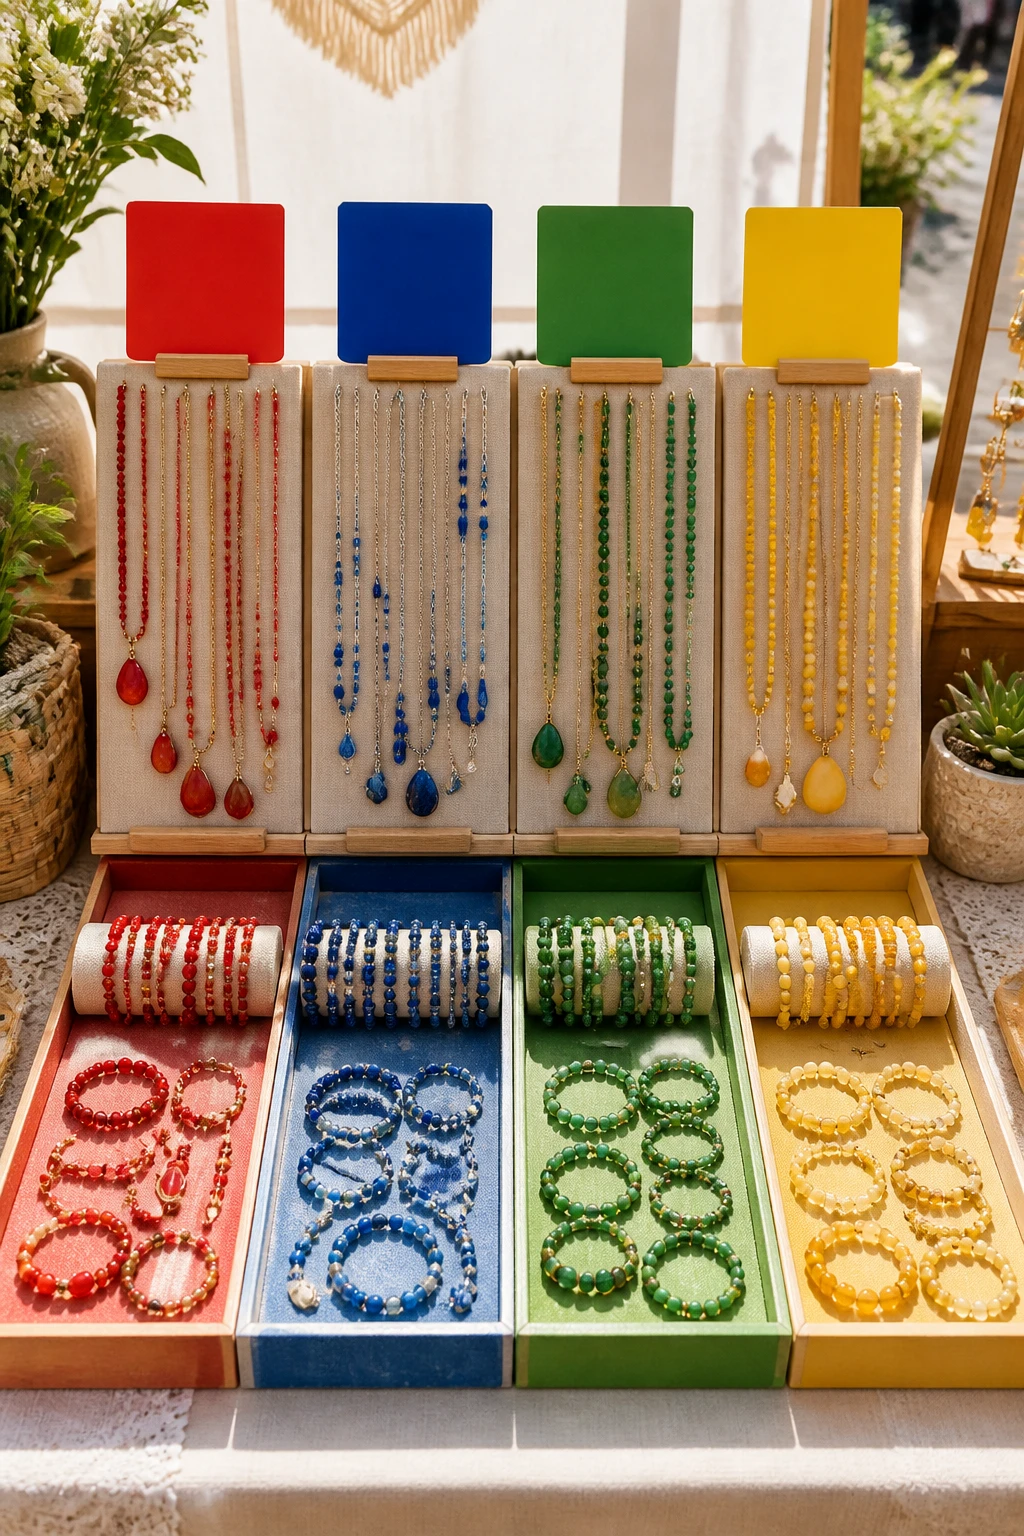
The setup in the video isn’t about mega-sleek pro-grade shelves. It’s about balance, visibility, and accessibility. Here’s how to replicate it without turning your table into a cluttered mess:
- Inventory in view: Show a lot of pieces, but group them by color family or style so shoppers can scan quickly.
- Tiered displays: Use stands or risers to add height. Elevation makes your pieces pop and prevents fingers from digging through clutter.
- Clear pricing signs: Attach color-coded tags or boxes where customers can instantly see the price without asking.
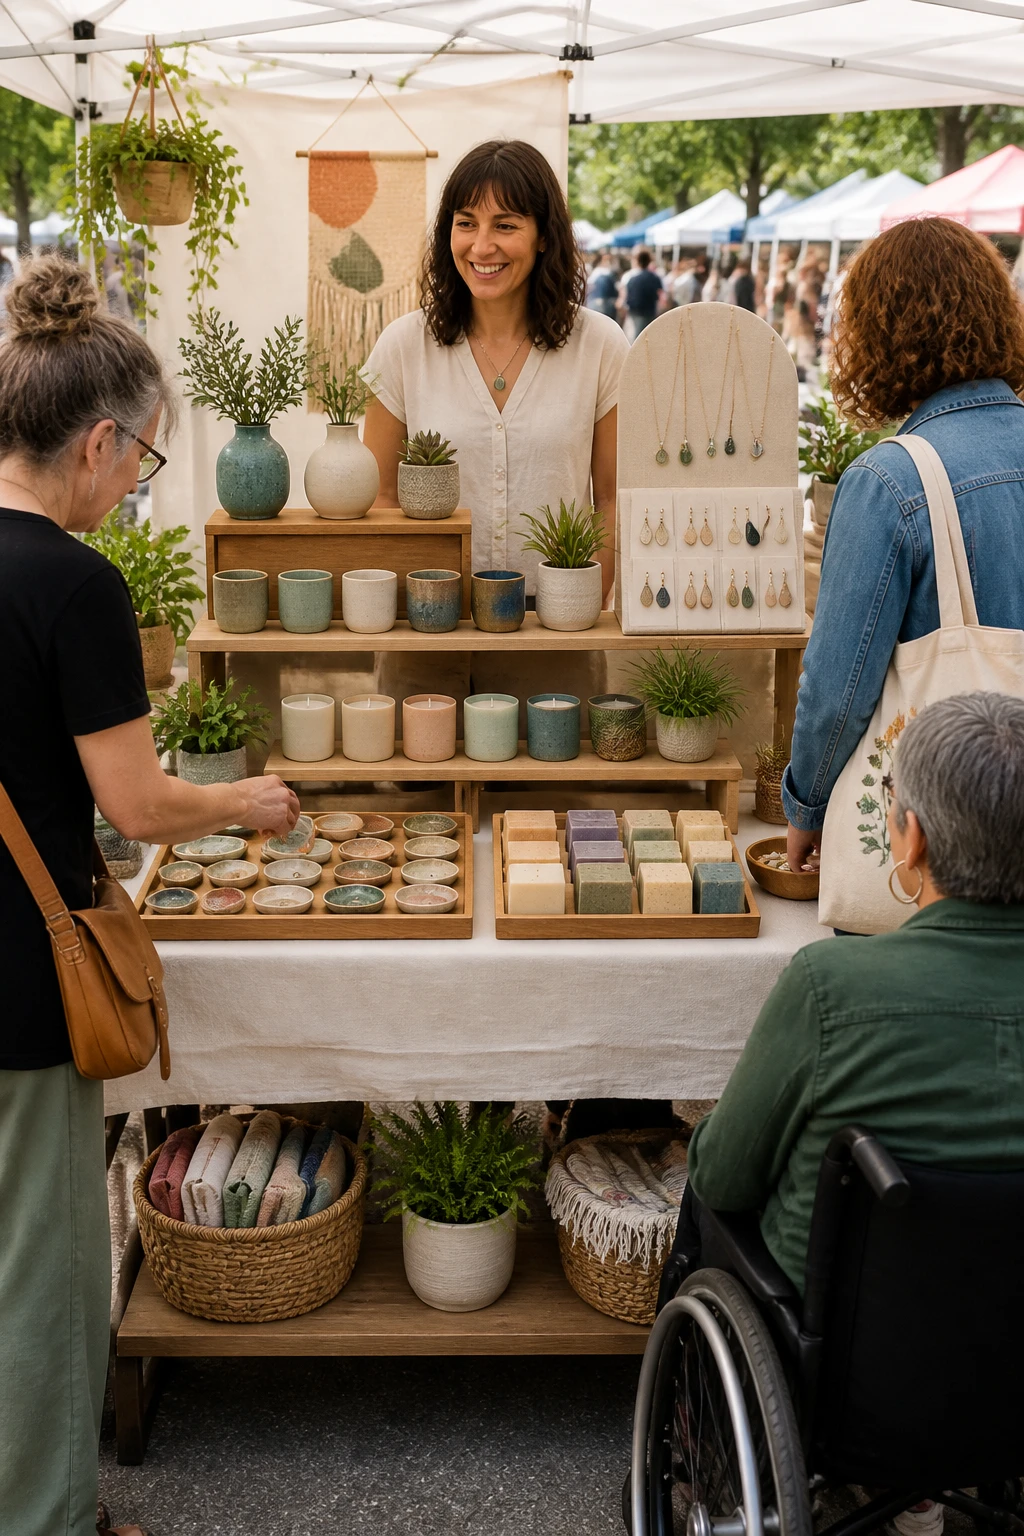
- Walkable layout: Leave room for people to browse without bumping into your display. A little space goes a long way.
Materials You Likely Have Lying Around
The author’s setup leans on polymer clay, beads, and wire—totally doable from home. You don’t need fancy machinery to get a polished look. Try these staples to assemble your own quick-and-easy display:
- Affordable display bases like cardboard boxes, foam boards, or DIY stands from reclaimed wood.
- Wire and beading for lightweight, budget-friendly pieces that still catch eyes.
- Color-coded price markers on sturdy cards or small envelopes tied to each piece.
Pricing Strategy That Keeps Customers Happy
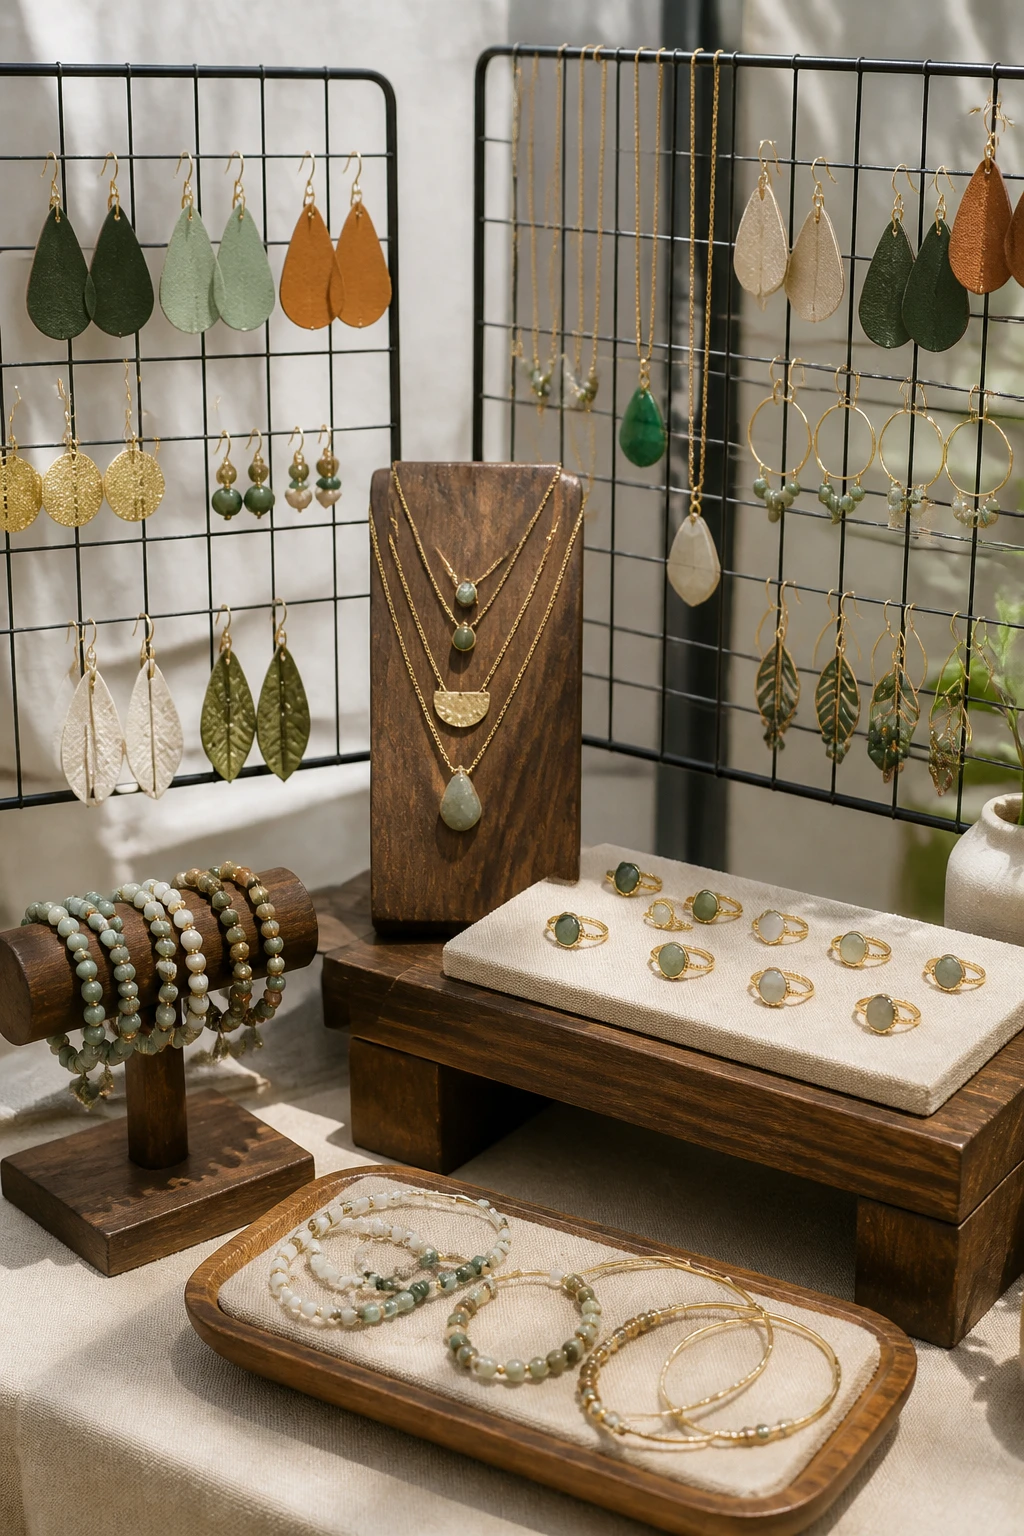
Pricing can feel like a guessing game at markets, but your setup can make it crystal clear. The four-color system is more than just pretty—it’s practical. When shoppers instantly know the price, they’re more likely to commit to a purchase instead of walking away with questions lingering in their heads.
Tips for Smooth Transitions Between Price Points
What if a customer wants a different piece in the same color group? Have a quick reference chart handy so you can confirm prices without missing a beat. Also, consider a few “core” price points you always carry—people love predictable options at craft fairs.
Operational Tricks That Save Time
Running a booth is a performance as much as a sale. A few practical habits can minimize friction and maximize sales:
- Prep helpers: If you can, have a helper to manage restocking and answering quick questions. A little teamwork goes a long way.
- Pre-packaged bundles: Create small bundles or sets so customers can choose quickly and feel like they’re getting value.
- Eye-level focal pieces: Place your most eye-catching items at eye level to draw shoppers in fast.
Storytelling With Your Pieces
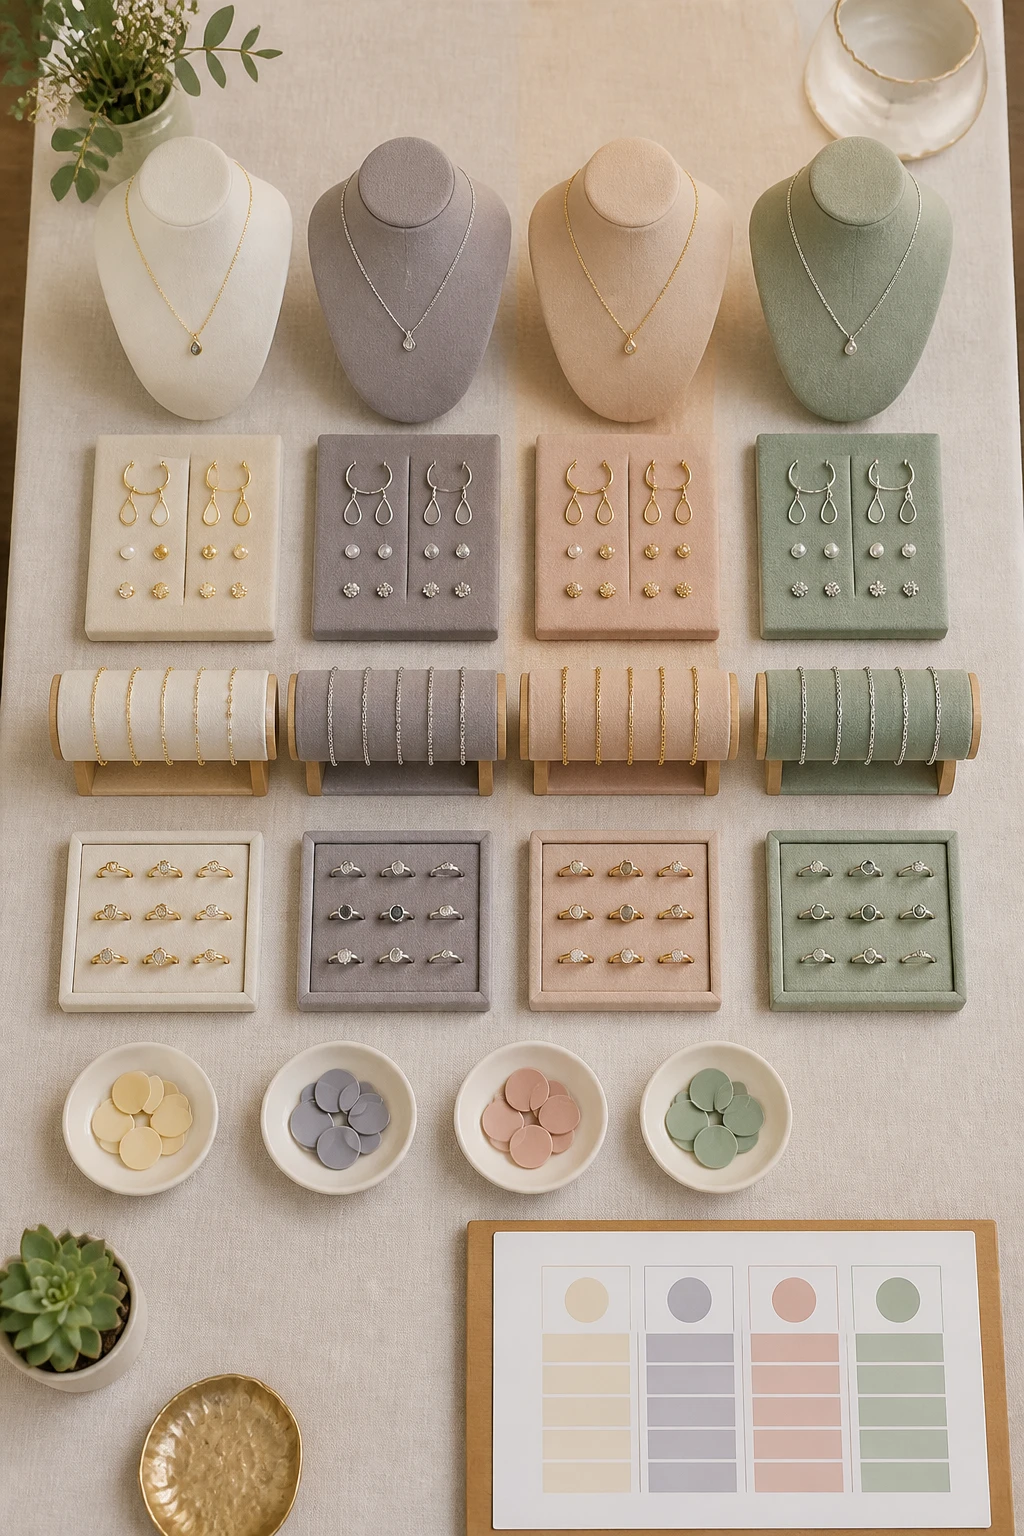
People buy with their eyes—and their imagination. A simple narrative about a piece can turn a glance into a sale. Consider short, friendly captions like “hand-poured colors,” “seasonal beads,” or “resin-free finish.” It’s amazing how a tiny backstory can spark a connection, even if the price is clearly signposted.
How to Use Signage That Sells Without Cluttering
Keep signs concise and readable from a few steps away. Color blocks aligned with your price system reinforce the system visually. FYI, you don’t need wall space; use a compact grid or a hanging display to maximize what shoppers can see at once.
Handling Inventory at Scale
If you’re stocking a lot of inventory, the last thing you want is a chaotic table. The color-coded system shines here because it scales. You can present dozens of pieces across multiple price tiers without creating chaos. The trick is to keep the layout intuitive and consistent across every event you attend.
Tech-Free Tips That Still Look Polished
You don’t need Glowforge-level gadgets to pull this off. The video shows a polymer-clay-and-bead approach that’s approachable for hobbyists. The principle? Use what you have, but present it with care. A well-thought-out setup can feel premium without requiring premium tools.
Seasonal and Event-Specific Tweaks
Craft fairs and pop-ups are seasonal by nature. Build a flexible system that can adapt as your product line shifts. If you add new lines, simply adjust color assignments or add a new color tier. The goal is to preserve clarity while expanding your range.
Glossary of Quick-Launch Ideas
If you’re short on time, here are quick-start actions you can take this weekend:
- Draw up a compact color-price map for your top four pieces or categories.
- Assemble a small rack or box for each color tier.
- Pre-pack a handful of bundles to showcase value right away.
- Practice your 60-second pitch: who you are, what you sell, and why your pieces are special.
Deeper Dive: The Value of Prepared Helpers
Having a crew to help is not a luxury; it’s a sanity saver. A second pair of hands speeds restocking, manages change, and helps curious shoppers without you turning into a one-human show. IMO, you’ll thank yourself for investing in a partner or two who know your line inside and out.
FAQ
Can I adapt the color-price system to different currencies?
Absolutely. Replace the price points with whatever currency you use, but keep the color mapping consistent. The core idea remains: a quick visual cue eliminates back-and-forth questions and speeds up the flow of sales.
What if a customer wants a custom piece not on display?
Have a clear process for custom orders, and consider a small sample notebook or card system where you jot down details. You can segue a conversation toward a custom option while keeping the main display tidy.
How do I keep inventory organized at a busy event?
Use clear bins or trays for each color tier and rotate products so the best-sellers stay front and center. A quick restock routine helps you maintain the clean look that invites purchases rather than chaos.
What’s a good way to handle pricing changes during an event?
Have a laminated price sheet or digital note you can reference to adjust signs on the fly. Consistency matters, so make sure every color tier lines up with your current prices.
How long should I spend setting up before doors open?
Aim for a tight 20–40 minutes. It sounds short, but a well-planned layout pays off as soon as customers start browsing. Pro tip: do a quick run-through the night before if you can.
Conclusion
With a simple, color-coded pricing system and straightforward display setup, you can create a polished, vendor-friendly booth that looks intentional and sells more. You don’t need a studio-quality setup to win at craft fairs—just plan, practice, and keep things light and welcoming. So grab your color blocks, pull out your best pieces, and get ready to own your next market. IMO, the biggest lift comes from making shopping effortless for your customers—and your future self will thank you for the smooth days on the floor.